Sugar Cookies (Holds their shape!)
These sugar cookies taste great and work wonderfully if you want to make decorated sugar cookies for a party. They hold their shape, are strong but soft, and are delightfully buttery.
These cookies are great to decorate for any holiday. Currently, I'm working on different takes on Halloween cookies. That blog post will be out soon! In general, if you plan on decorating them, Royal icing works well because when it dries it is not sticky which makes the cookies easier to package and transport. However, frosting from a can does the trick if you just want to have fun and eat them like I do.
I hope you check out my Halloween cookies next Monday when they come out. I'll be using this recipe for the cookies. The blog post will be all about taking non-Halloween shapes, making them spooky or Halloween themed, and decorating them!
Tools
Ingredients
For Christmas time, I substitute the vanilla for peppermint extract, which makes my candy cane sugar cookies all the better, I think. I’ve also substituted almond extract for nutty flavor and it works well. Recently, I added about 1 teaspoon imitation brandy extract with the vanilla extract and the results were pleasing.
For this recipe, I’ve added strong bread flour to help bind the cookies together. If you don’t have any on hand, or don’t want to buy any just for this recipe, I have had good results using all regular flour too. The eggs are a good binder and the cookies still hold their shape well, but they will be slightly more fragile than with the bread flour. Make some of the bread recipes on here if you need inspiration!
Video Ready Now on youtube!
Directions
These sugar cookies taste great and work wonderfully if you want to make decorated sugar cookies for a party. They hold their shape, are strong but soft, and are delightfully buttery.
These cookies are great to decorate for any holiday. Currently, I'm working on different takes on Halloween cookies. That blog post will be out soon! In general, if you plan on decorating them, Royal icing works well because when it dries it is not sticky which makes the cookies easier to package and transport. However, frosting from a can does the trick if you just want to have fun and eat them like I do.
I hope you check out my Halloween cookies next Monday when they come out. I'll be using this recipe for the cookies. The blog post will be all about taking non-Halloween shapes, making them spooky or Halloween themed, and decorating them!
 |
| My Pac Man ghost wants you to bake cookies |
Tools
- Cookies cutters of your choice
- Rolling pin
- Plastic Wrap
- Rolling pin
- Kitchen scale
- Measuring Spoons
- Large bowl
- Small bowl
- Wax paper (optional)
Ingredients
- 400g flour (about 3 cups), plus more for rolling
- 100g strong bread flour (about ¼ cup)
- 125g sugar (about ¾ cup)
- 225g butter, softened (2 sticks of butter or about 1 cup)
- 2 large eggs
- ½ tablespoon honey
- 1-2 Tablespoons whole milk (as needed)
- 1 tablespoon vanilla extract
For Christmas time, I substitute the vanilla for peppermint extract, which makes my candy cane sugar cookies all the better, I think. I’ve also substituted almond extract for nutty flavor and it works well. Recently, I added about 1 teaspoon imitation brandy extract with the vanilla extract and the results were pleasing.
For this recipe, I’ve added strong bread flour to help bind the cookies together. If you don’t have any on hand, or don’t want to buy any just for this recipe, I have had good results using all regular flour too. The eggs are a good binder and the cookies still hold their shape well, but they will be slightly more fragile than with the bread flour. Make some of the bread recipes on here if you need inspiration!
Video Ready Now on youtube!
Directions
- In a large bowl, beat the butter on medium-low speed until it is fluffy creamy, and pale; it takes about 1-2 minutes. Add the sugar and cream together with the butter on medium-low speed, about 1 minute. Make sure the butter maintains its fluffiness and height.
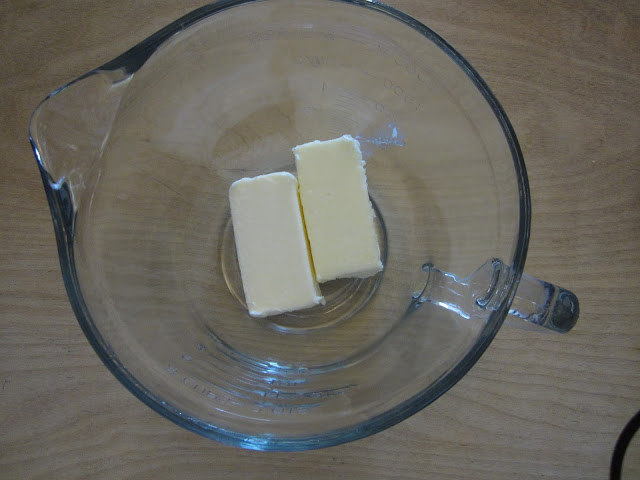
Softened Butter 
Just the butter. 
Butter and sugar - Add the eggs, honey, and vanilla extract. Beat on medium speed for another 2-3 minutes until everything is well incorporated.


Mix after step 2 - In a separate, smaller bowl, whisk together the flours and salt. Add about 1/3 of the flour mixture to the butter mixture and beat together on medium speed. Gradually add the flour mixture to the butter mixture using the beaters to bring the mixture together. Before you add the last bit of the flour mixture, add 1 tablespoon of milk. The consistency of the cookie dough should be soft and easily malleable. If the mixture seems too thick or grainy from the flour add the second tablespoon of milk and mix in the last of the flour. The electric mixer will do most of the hard work bringing your cookie dough together. But when the mixture begins to get stuck in the beaters its time is up. It’s time to use your hands.

Flour mix (left), Wet ingredients (right)

Time to use your hands! - Using your hands, remove any cookie dough stuck in the beaters. It should fall out easily. Bring the cookie dough together into a ball shape making sure there are no clumps of flour on the side of the bowl.

- Place 2 long sheets of plastic wrap on the table. Divide the cookie dough into two balls and place one ball on each sheet of plastic wrap. Fold the plastic wrap around the dough ball and pat it down slightly. Let refrigerate for about 2 hours. (You can leave the dough in the fridge for 24 hours if you want to make the dough ahead of time.)

- When you are ready to roll and cut the cookies, preheat oven to 375° Fahrenheit.
- Work with one ball of cookie dough at a time. Remove one ball from the fridge and lay between two pieces of wax paper. *Alternatively, you can just roll out your cookies on a floured surface. Using wax paper prevents you from adding too much flour to the dough, which can make it tougher or dry.


Roll the cookie dough out until it is just under about ¼ centimeter thick. Peel up the top layer of wax paper to adjust if needed. Once the cookie dough is thin enough, peel the wax paper off the top and turn onto a lightly floured surface. Lightly flour the cookie dough and the cookie cutters. Cut out the desired shapes. Use a lightly floured spatula to help you remove them if needed.


Place the cookies on a silpat-lined tray. Reroll the leftover dough and repeat cutting out shapes until you have used all of your dough. Be careful not to over crowd the cookies on the silpat.

sneak peek at my Halloween cookies! - Place tray on the center rack of the oven. Bake for 12-15 minutes. Let the cookies sit on the tray for about 30 seconds then transfer them to a wire rack to finish cooling. Let the cookies cool completely before decorating them.

- Repeat process 7 & 8 with the other ball of cookie dough. This makes about 4 dozen cookies depending on the size of cookie cutters you are using. Remember: the prepared cookie dough can remain in the fridge for 24 hours before baking it.


Since you're here: Leave me comment & show me your creations. I hope you find all of my goodies enjoyable. If you find my kitchen creations inspiring consider making a donation here so I can keep providing everyone with free, inspirational recipes.
How did your bakes go? Find me on Instagram @superhayleykaystuff and tag me to show me your bakes!
Comments
Post a Comment